How do I perform an infection control risk assessment before a hospital renovation?
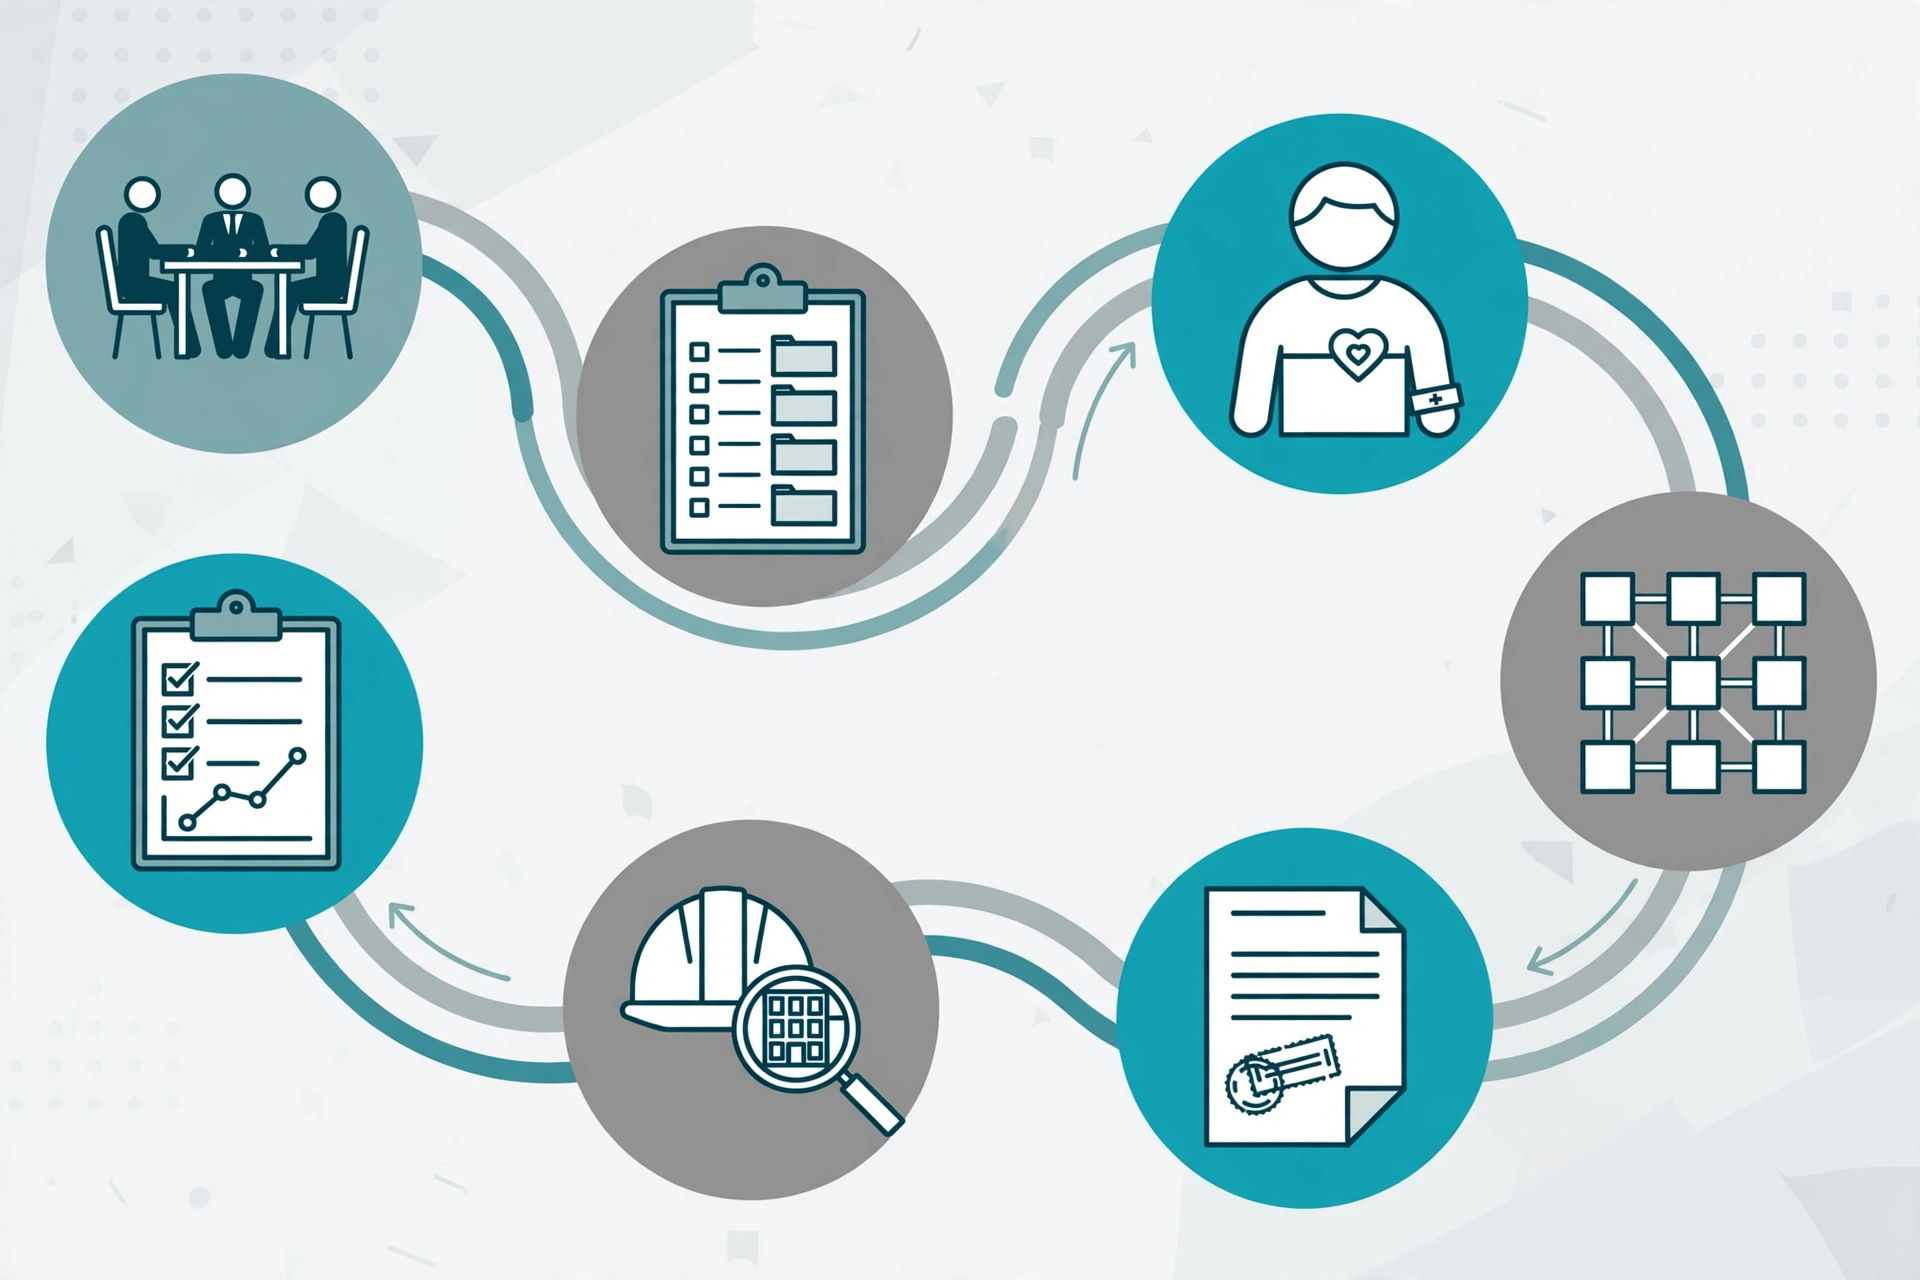
Perform an ICRA in seven steps: (1) assemble the multidisciplinary team, (2) define the construction activity type (A–D), (3) assess the patient risk group and surrounding areas, (4) use the matrix to determine the Class of Precautions (I–V), (5) specify the minimum controls for that class in an ICRA permit, (6) verify barriers and controls are in place before work starts, and (7) monitor daily, document everything, and decommission by inspection. The assessment happens before design is finalized — it shapes the construction documents, not the other way around.
Try it: Use the interactive ICRA Class Finder — answer 3 questions and get your precaution class instantly.
Step 1 — Assemble the team
Infection preventionist, facilities/engineering, project manager, nursing rep from affected units, safety officer, contractor superintendent. The ICRA is a team product.
Step 2 — Classify the activity
Type A (non-invasive) through Type D (major demolition/construction). Be honest about dust, duration, and disruption — underestimating the activity type is the most common ICRA failure.
Step 3 — Assess patient risk
Classify the work area and surrounding areas (above, below, lateral): Low, Medium, High, or Highest risk. Note environmental hazards — sewage, mold, asbestos, gray/black water automatically escalate the class.
Step 4 — Determine the class
Match activity × risk group in the ASHE ICRA 2.0 matrix to get Class I–V. When in doubt between two classes, take the higher one.
Step 5 — Write the permit
Specify the class’s minimum precautions as enforceable requirements: barrier type and locations, HVAC isolation points, negative pressure targets, monitoring frequency, waste routes, and the responsible parties. For Class III (Type C) and all Class IV/V, the infection control permit must be approved before construction begins.
Step 6 — Verify before work starts
Walk the site: barriers complete and sealed, HVAC isolated, NAMs running with verified pressure, anteroom stocked, manometers logging. No verification, no work.
Step 7 — Monitor, document, decommission
Daily inspections and continuous pressure logging for higher classes; log every reading and excursion with corrective actions. At closeout: HEPA-vacuum, wet mop with disinfectant, remove barriers carefully — only after inspection by Safety and Epidemiology.
The ICRA isn’t paperwork — it’s the construction plan for patient safety.
See the ASHE ICRA 2.0 matrix and the ICRA matrix pillar page.
FAQ
When should the ICRA be performed?
Before design is finalized — the assessment shapes the construction documents.
What is the most common ICRA mistake?
Underestimating the construction activity type, which drops the project into a lower class with inadequate precautions.
Who approves the ICRA?
The infection preventionist (with facilities/engineering); a formal infection control permit is required for Class III (Type C) and all Class IV/V work.